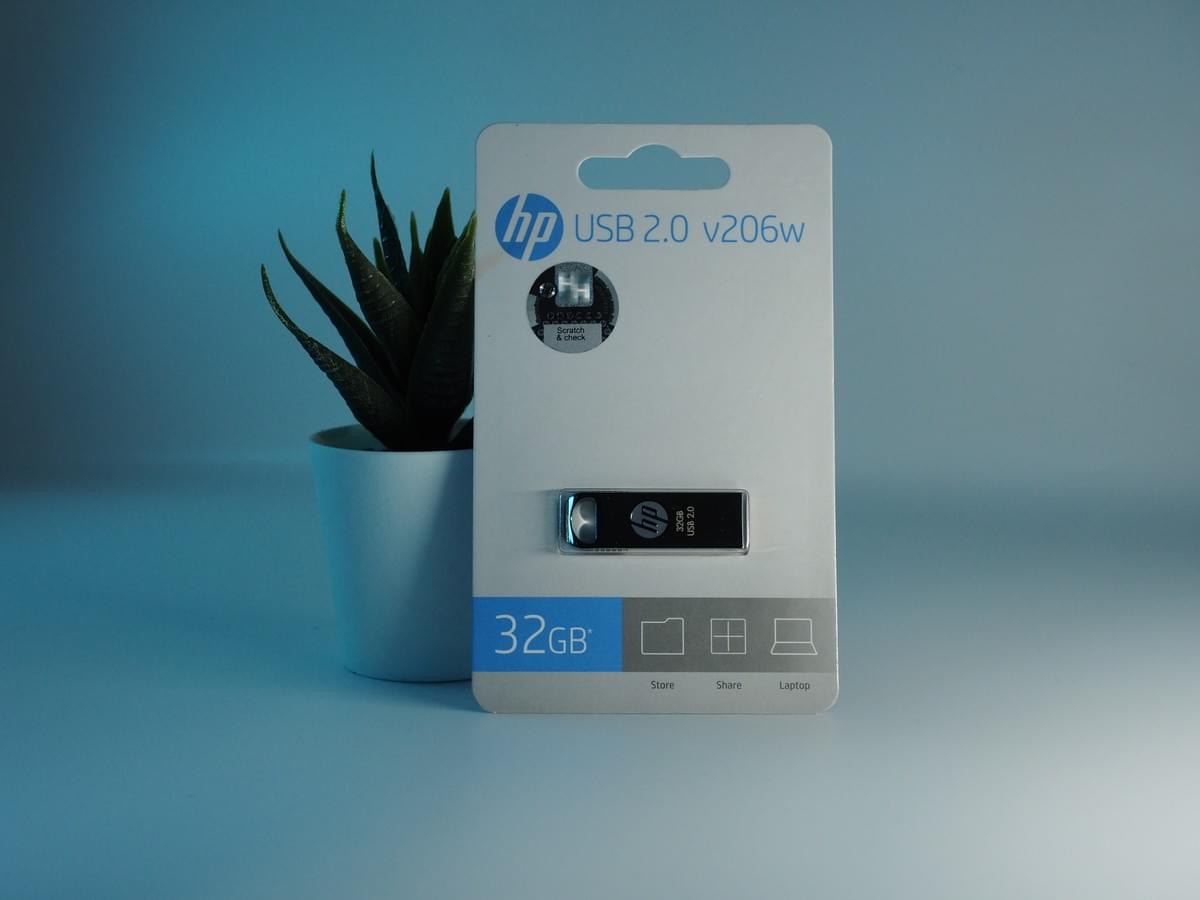
Experience the convenience of the HP USB 2.0, a high-speed USB flash drive that goes beyond traditional storage capabilities by offering seamless cloud backup every time you connect it to a computer. Boasting a substantial capacity of 32GB and coupled with various cloud storage options, this USB drive ensures you never run out of space for your important files. The best part is that you can effortlessly upgrade your cloud storage capacity without the need to invest in a new USB device. Convenience and practicality, all in one sleek package!

Top-notch security is paramount, and the HP USB Flash Drive with Amaryllo technology delivers just that. It boasts robust end-to-end encryption to ensure your files remain safe and secure. File sharing becomes a breeze with precise control over who can access and edit your files and folders. Additionally, the integration of AI features allows for swift file searches and efficient file organization, taking the user experience to a whole new level.
The HP USB Cloud Storage is fully compatible with both Windows and Mac systems, granting users easy access to their private cloud storage from any device.
Let's explore how you can activate your Amaryllo cloud on the HP USB using the user-friendly Amaryllo Desktop App.
Step 1: Sign in to Your Amaryllo Cloud Storage
If you haven't already, visit our website and sign up for your Amaryllo Cloud Storage, which comes with an extra 10GB at no cost. It's a simple process that opens up a world of storage possibilities for you.
Step 2: Install the Amaryllo Cloud App on Your Computer
Visit our website, or click HERE to download the Amaryllo Cloud Client App for your specific operating system. For Mac users, please note that additional applications may be required to ensure seamless compatibility.
Once the App is installed, open the App and you will see the window as depicted in the image below:

After following the initial steps, the next crucial action is to click on "Configure USB," unlocking the true potential that allows you to harness the benefits of both worlds seamlessly.

By configuring the USB, you'll be able to maximize the advantages of your HP USB Cloud, combining the convenience of local storage with the power of cloud backup.

Step 3. After clicking the "Configure USB" button, a pop-up window will appear, prompting you to press "OK" to proceed with the configuration process.
Once you confirm by pressing "OK," the formatting procedure will commence, and upon completion, you'll receive a message indicating that your HP USB Cloud Storage is now ready to use.
To ensure everything is set up correctly, click the "Refresh" button, and you'll be greeted with the following interface:
Congratulations!

Your USB flash drive is now activated with the Artemis feature, bringing a whole new level of functionality to your Amaryllo storage. Embrace the convenience and security this combination offers, making it effortless to store and access your files with ease.

Your original name of the USB flash drive will be changed to “ARTEMIS” which represents that your data are ready to be backed up.
For more detailed instructions on how to start backing up your files, encrypt and decrypt refer to our video. This guide will walk you through the process, making sure you make the most out of your Amaryllo storage.
Thank you for joining us in this article! Stay tuned for more exciting updates and useful guides in our upcoming articles. We're here to provide you with the best storage solutions and a seamless user experience. Happy file storing!

